Hi! After a long hiatus I have decided to revamp the blog and start posting again. So...enjoy!I present to you a super comfortable and simple diy summer dress. And it only takes two yards of fabric! This dress was made with a polyester print fabric (which was so not fun to work with, but it's pretty, so I'm good with that) and one invisible zipper inserted in the side of the garment. I used a 22" one, but ended up trimming quite a bit off of it. I finished the hem with lace hem tape which makes the boring task of hemming kind of fun and gives it a bit more weight, important for such a lightweight fabric. Also, I used a 1/2" seam allowance. The dress consists of 4 pattern pieces: the bodice (with two neckline variations), the skirt panel, the waistband and the straps.
 The bodice pattern piece looks more confusing than it really is. Just use common sense. Cut a bodice piece of each neckline (on the fold) out of your outer and lining fabrics. You should have four bodice pieces. Then cut a long skinny piece for the straps. I made mine about 2" wide x 30" long.
 Then cut your two skirt panels and 2 waistband pieces.
The Bodice:
To start, sew together the outer bodice pieces on the right side. Sew the lining pieces together on the left side. Do the same on the opposite side, only stitch about 3" down (to leave room for the zipper). Then, with right sides together, sew down the long side of the strap piece. Pull the end through to turn the strap right-side-out. I use one of
these.With outer and lining fabric right sides together, sew the arm holes and neckline, leaving the strap section open. Try on the bodice and figure out how long you want your straps to be (+1" for seam allowance). Cut two straps out of the long tube you made. Iron them flat. With bodice pieces still right sides together, thread the straps through the strap openings, being careful not the twist them. Pin and stitch in place, meeting the seams you made on either side for the arm hole and neckline. Turn bodice right side out.

Stitch two lines of gathering stitches around the bottom of the bodice, keeping the edges even. Gather the bottom so that it matches your waistband length.
The Skirt:
With right sides together, sew one side of the skirt panels. Do the same for the opposite side, leaving about 6 inches open at the top (for the zipper). I used
 [/responsive]
 [/responsive][responsive]
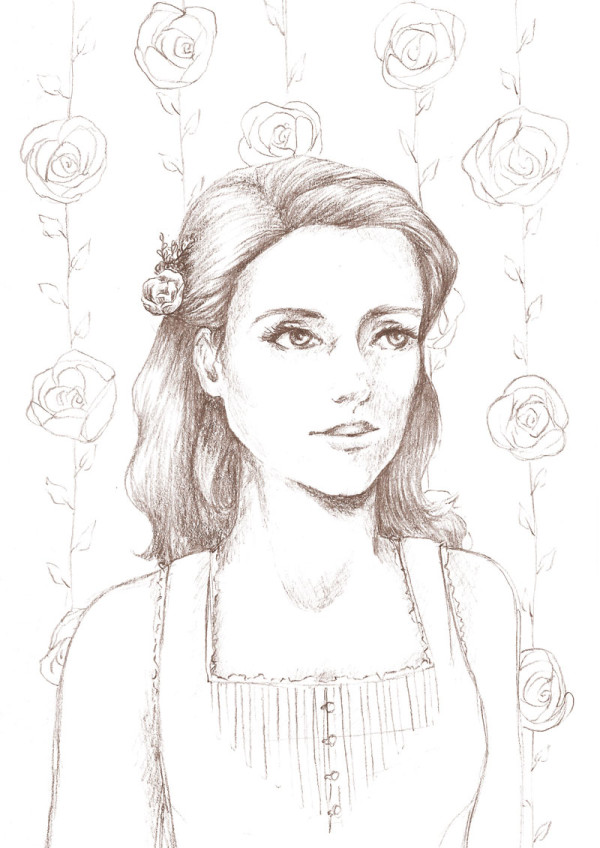
 [/responsive]Step 1. Scan in your drawing (I like to set the scanner to 300 dpi grayscale TIFF) and bring it in to Photoshop. Unlock the layer and clean up any areas you need to. I like to just use a round brush with white paint to do this. Command-U to adjust the linework color. Check "Colorize" and adjust the sliders to your liking. Don't mess with the lightness slider at this point. If you want to make your linework darker you can adjust the curves. Set your layer style to "Multiply"2. Find a sepia-colored paper texture and place it in a layer below the sketch layer. Set the layer style to "Multiply" and the opacity to around 50%. Keep this layer directly under your sketch layer.3. Make a new layer and choose a background color. Always keep this layer beneath all the other layers you'll end up with.4. Start adding new layers under the textured paper layer. I like to separate these by color. I used a sort of dry texture brush that uses the background and foreground colors together depending on pen pressure. I also used a Wacom tablet, though this isn't really necessary. Keep your color layers separate and stack them as needed. That way, you can go back and change the opacity of certain sections.5. Lastly, to add a little more depth to the image, I used filter > render > lighting effects to add a vignette effect on a layer above all the other ones. I made a layer of white, applied the effect and set the layer style to "Multiply". You can probably see by now that the multiply style is super helpful :)Additional tips: I like to use the hue/saturation tool to adjust the colors of my layers. Dodge and burn are also helpful for adding more depth to certain areas. This technique is by no means polished, but I think the overall look is quite nice.Hope you liked seeing the process!
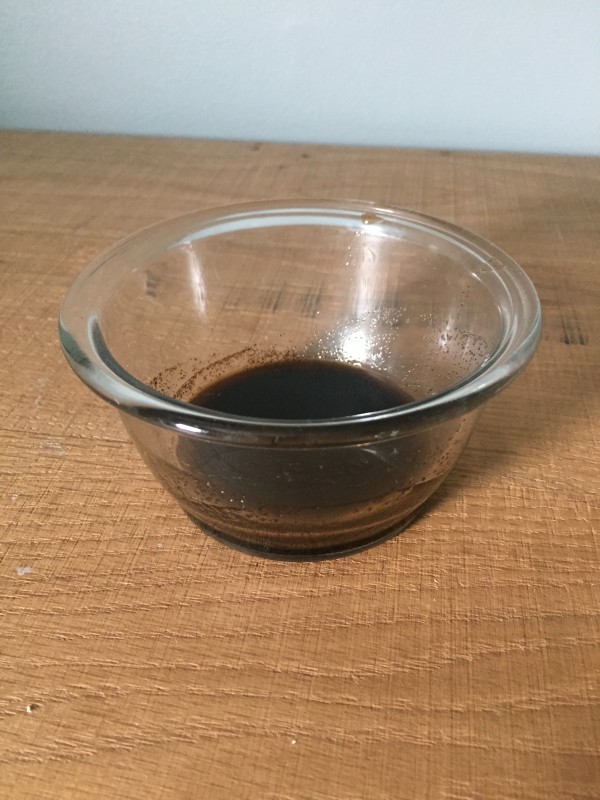 [/responsive]Here is my recipe for the Coffee-Infused Eye Cream:1 tbsp Cocoa Butter1 tbsp Shea Butter1 tbsp Coffee-Infused Castor Oil1 tsp Vitamin E Oil8 drops Lavender Essential OilBasically you just have to melt the shea and cocoa butters together, then add the rest of the ingredients. Let cool till it's semi-solid and whip it with a fork. Then transfer to a clean, dry container (I used an old baby food jar – perfect for this sort of thing!).The eye cream is a little oily so next time I think I will add some beeswax to take away from the oiliness. It's perfect at night, though. The smell is really lovely, too.[responsive]
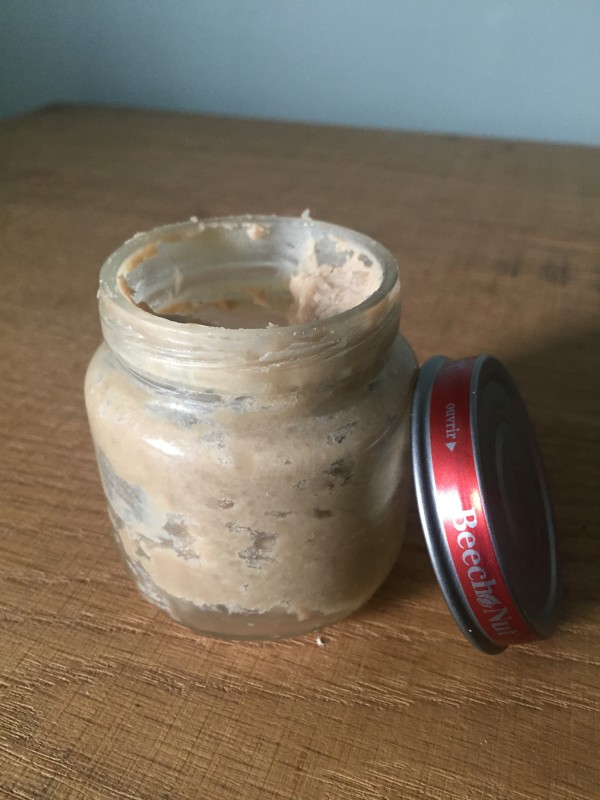 [/responsive]Next, for those luscious coffee grounds. This scrub is so super-simple and completely luxurious. My skin felt soft and smooth after I showered and I didn't even need to moisturize. The coffee grounds are also supposed to help break down cellulite so that's always a plus! Only downside - it made a bit of a mess in the shower. Worth it.Coffee Bean Sugar Scrub1/2 cup Castor Oil-Infused Coffee Grounds1/2 cup Sugar (I used regular granulated sugar)1 tsp CinnamonCombine all ingredients and store in a clean, dry container.[responsive]
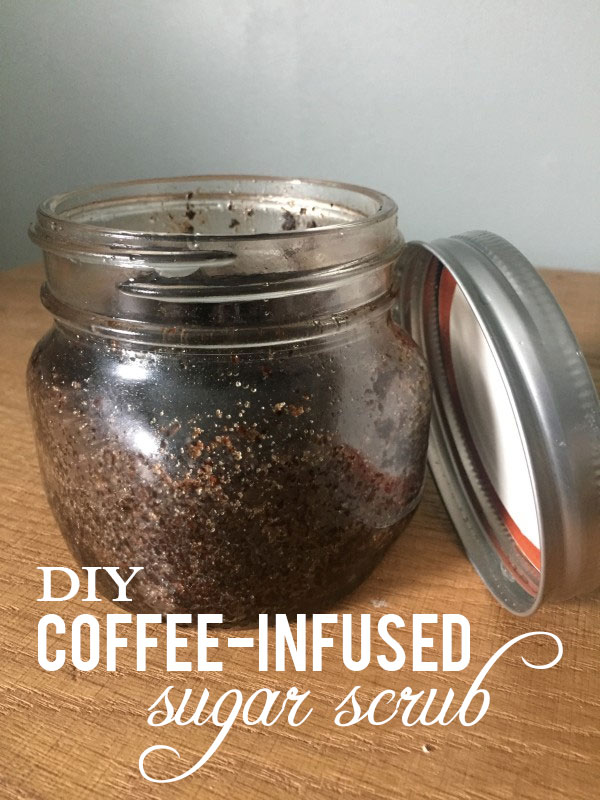 [/responsive]Hope these recipes are useful! I know I'm loving my new coffee-infused products.
 [/responsive]
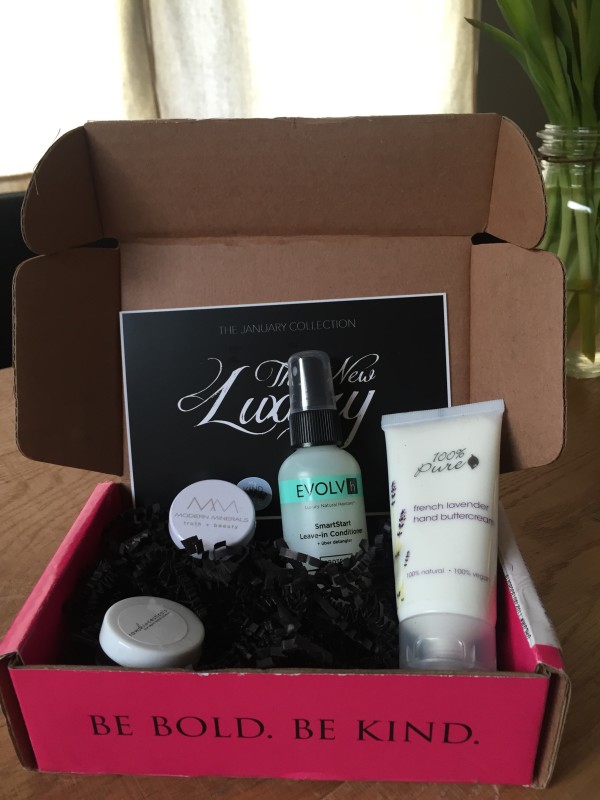 [/responsive][responsive]
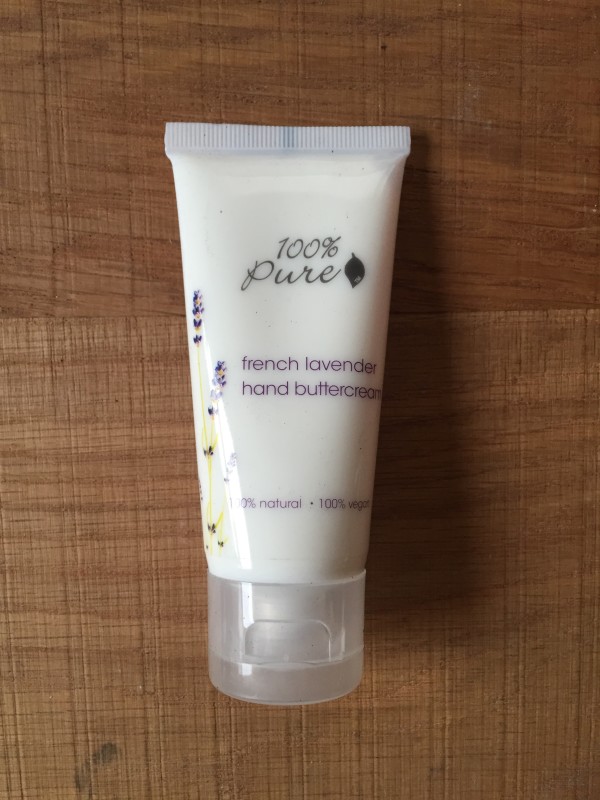 [/responsive]The hand cream is perfect for this time of year and I will definitely be keeping this in my purse. The lavender scent is light and floral and the consistency of the creme is super luxurious.[responsive]
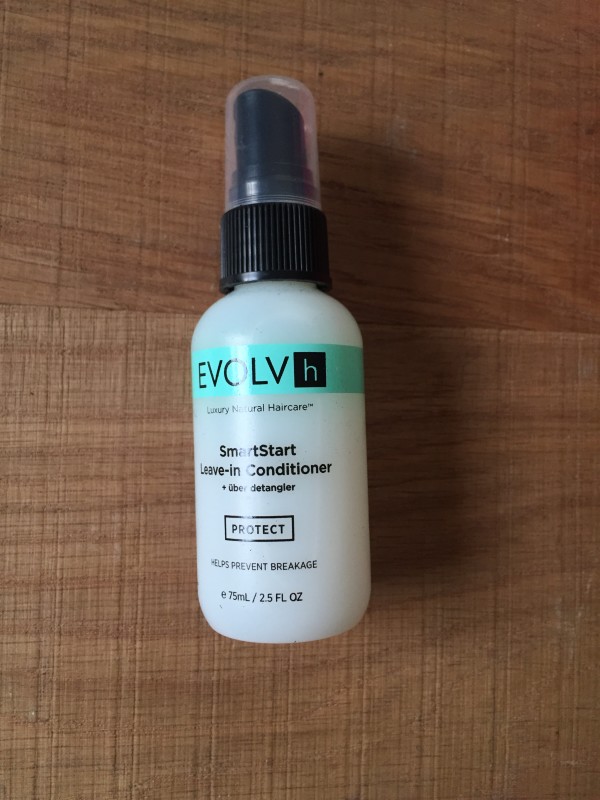 [/responsive]I've only used the leave-in conditioner once so far and I'm not sure about it. The scent is really nice and citrusy and it definitely detangled my hair, but now my hair feels kind of weighed-down and a little sticky. I have really fine, stick-straight hair, though, so it may just not work for me. I think I'll have to give this one a little more time before I make a judgement on it.[responsive]
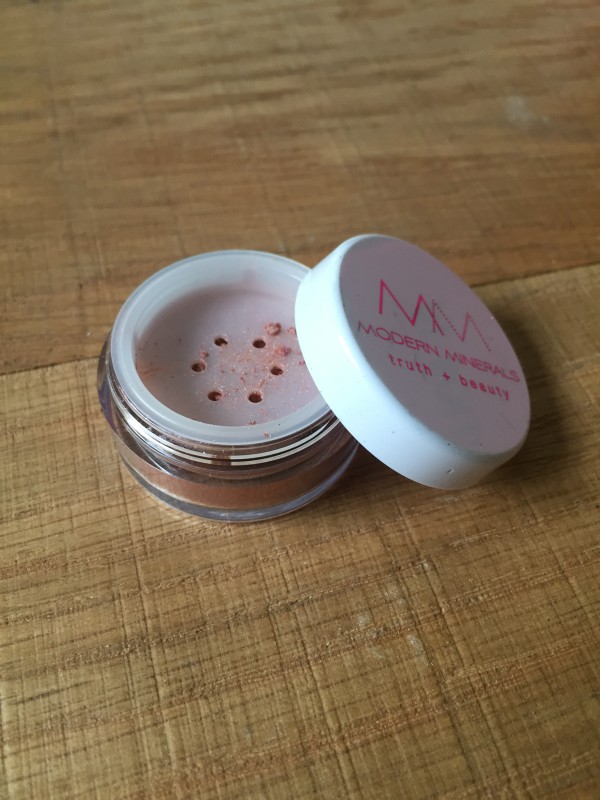 [/responsive]At first when I swatched this eye shadow on my hand it didn't look like much. When I applied it on my eyes, however, it turned into a beautiful new-penny iridescent shade. It's really nice and subtle with the right amount of shine. I love that it's a full size product, too.[responsive]
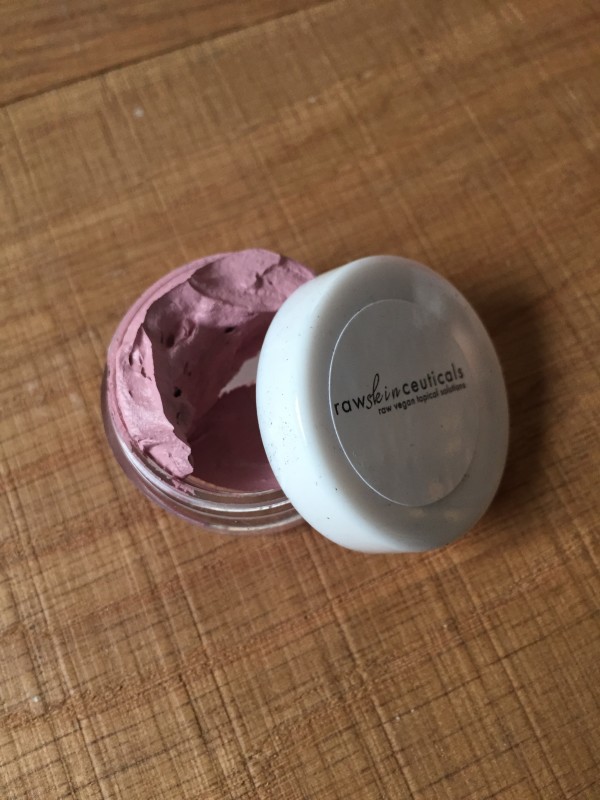 [/responsive]This cream blush scared me a little at first. It looks pretty purple and when I tried some on my hand it was straight up chalky lavender. Not really what I want in a blush. I usually like more warm peachy colors and this looked way too cool for my skin tone. After reading the description on the card, though, I tried it on my cheeks using a teeny tiny amount of product. After using my normal powder foundation over it I had a perfect, subtle color on my cheeks. The best part is that this blush is so highly pigmented that it will last a really long time.I took a few photos after doing my makeup with these new products so you can see them in action.[surow][sucolumn size="1/3"][responsive]
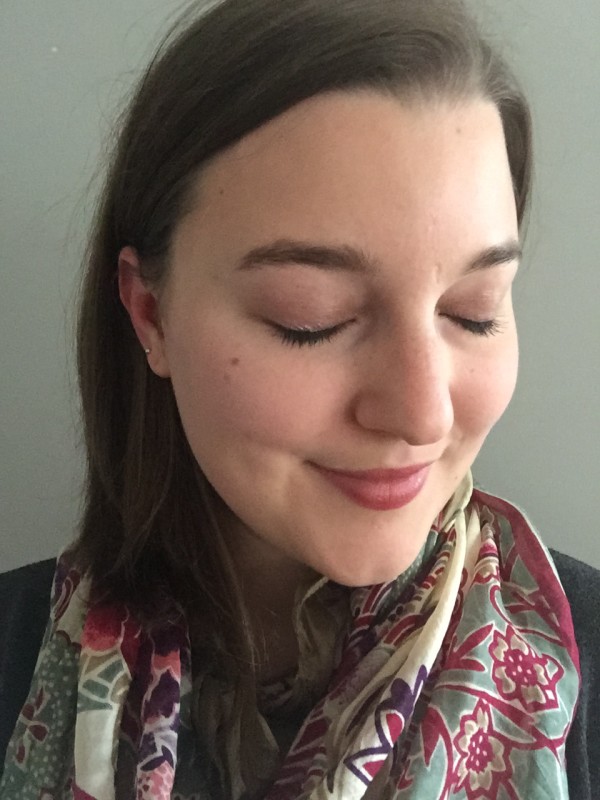 [/responsive][/sucolumn] [sucolumn size="1/3"][responsive]
 [/responsive][/sucolumn] [sucolumn size="1/3"][responsive]
 [/responsive][/sucolumn][/surow]In case you're interested, here are all the products I used:French Girl lip tint in Cerise (another Petit Vour item)Yes to Grapefruit CC cream in LightEveryday Minerals cream stick concealer in SandRaw Skin Ceuticals creme blush in RoseNYX matte foundation powderModern Minerals eye shadow in En PointeNYX cream eyeliner in BlackUlta plush drama mascara in BlackThat's all, folks!
 [/responsive]After being totally inspired by seeing Amy Butler's beautiful textile designs I decided to try to create a few during the holidays. They somehow turned out a little retro with a 60s flair and I'm pretty pleased with how they look. The file is available for download at the bottom of this post. It is a .eps vector file and the patterns are repeatable. The file also includes pattern swatches. Enjoy![responsive]
 [/responsive][responsive]
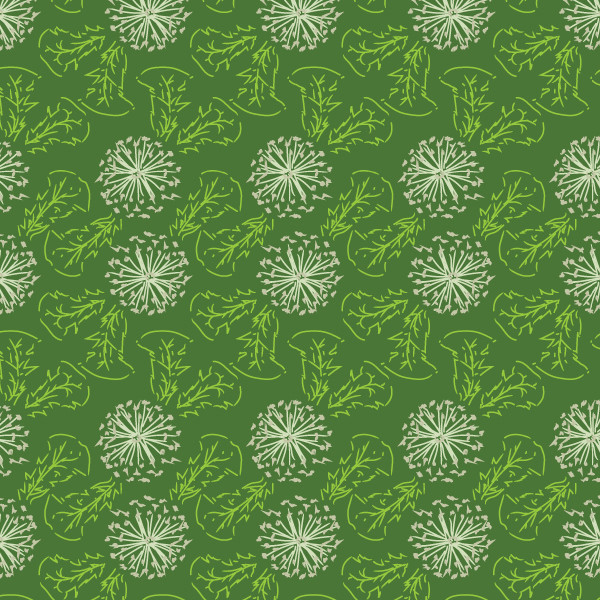 [/responsive][responsive]
 [/responsive][responsive]
 [/responsive][responsive]
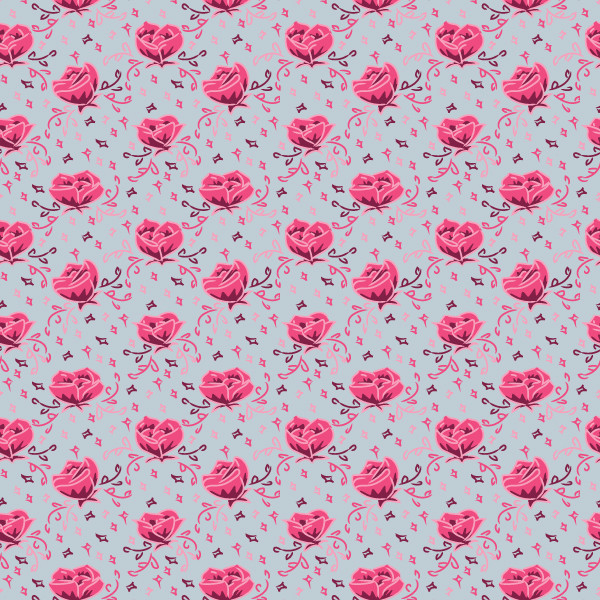 [/responsive][responsive]
 [/responsive]
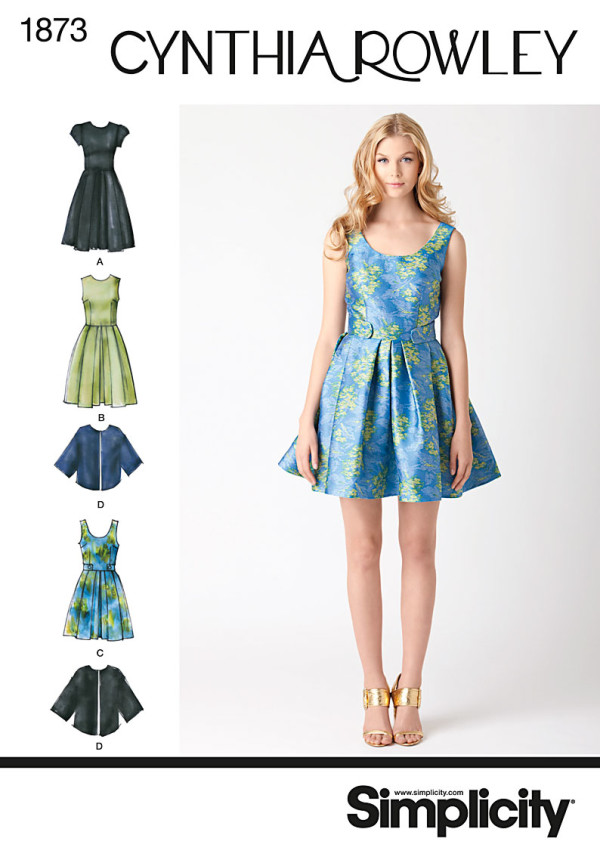 [/responsive]This pattern definitely has a sort of 60s retro look to it with the scoop neckline and tab details. I used two mother of pearl buttons to add some more metallic elements. Pretty pleased with the way it turned out![responsive]
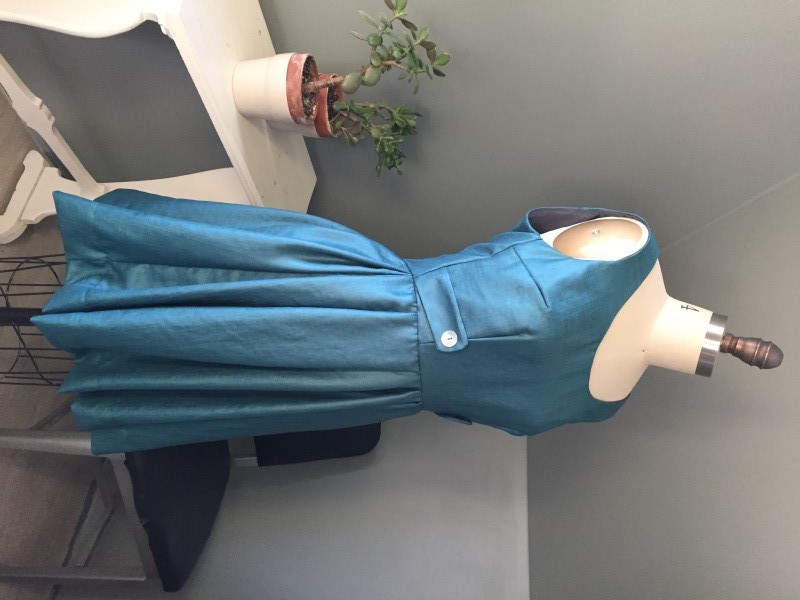 [/responsive][responsive]
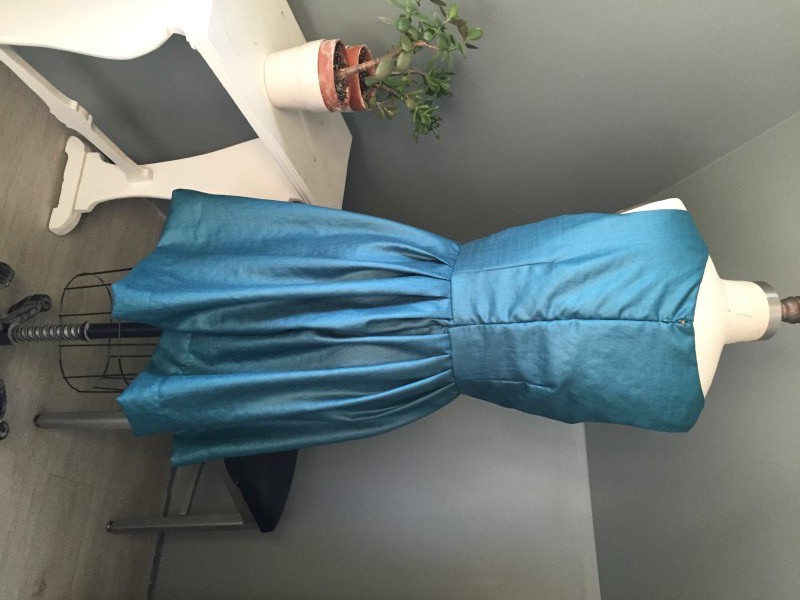 [/responsive][responsive]
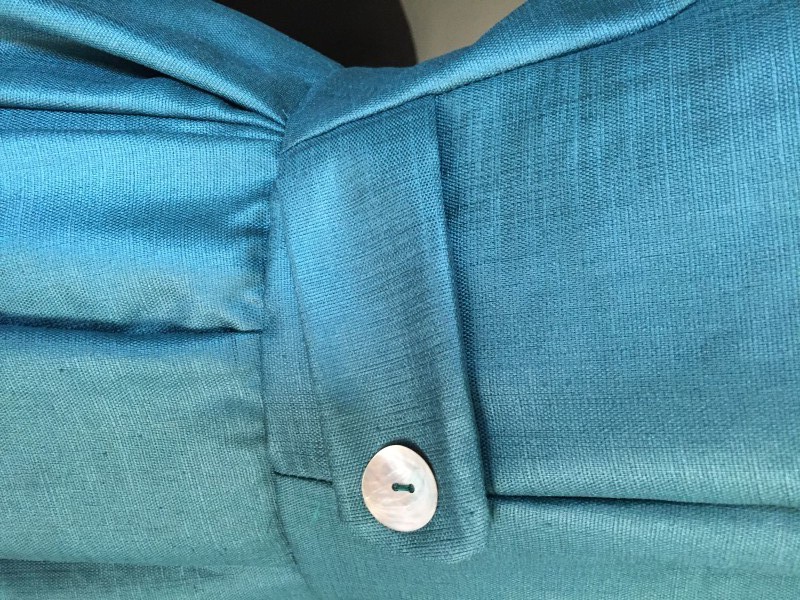 [/responsive]
 [/responsive]For this month their box was themed Merry & Bright. It features
  [/responsive][responsive]
 [/responsive]The packaging for this nail lacquer is just beautiful. I love anything with watercolor designs. The color itself is probably not one I would've picked out, but I like the soft pink. I usually tend to go toward aqua/minty green colors (huge surprise.) This should be really nice to transition into Spring, though.[responsive]
 [/responsive]So far I'm loving this matte blush. It gives my naturally rosy cheeks a healthy look instead of the painted up look that usually happens with blush. I use a kabuki brush to apply it, which is fine, but the packaging is a little tough to get the product out of. It's probably much easier on the full-size version of this product.[responsive]
 [/responsive]I've only used this stuff once so far, but I LOVE anything lavender scented, so this is already a win for me. I used it just before heading to a Christmas party, so it should have been a good test. I honestly forgot I was wearing it. That's probably a good thing though, because my traditional Dove deoderant can sometimes feel sticky and uncomfortable. So far so good![responsive]
 [/responsive]I've used this creme the last few nights and I like it so far. My skin still seems to be on the dry side, but I think that's just a side effect from the cold, dry winter air. It absorbs well and the herbal scent is really nice.All in all, I love this box! The past two have had lip products in them (both of which I love) but I'm glad this one was a little different. The total value of this box ended up being about $40. Not too shabby.
 [/responsive][/onehalf] [onehalflast][responsive]
 [/responsive][/onehalflast]And here's our Christmas tree![responsive]
 [/responsive]


 (my peony hasn't quite bloomed yet, but the ants seem to really love it.)
  (cute little cherry tomato plant.)
  (spearmint in the sunshine.)
 (gorgeous purple irises from Gary Gaffney's garden.)
 (wildflowers from the seeds we scattered last year.)
  (they look pretty great in a simple white milk bottle vase.)


 So, with that in mind, I'm starting to take some cuttings from our jades and getting them ready to root. I've been trimming them just before the second set of leaves. From what I've read, you're supposed to let the cuttings "scab over" for about three days before you put them in soil (to prevent water rot?) Along with the succulent favors, I will be incorporating them into my bouquet, centerpieces, etc. We've decided to order our flowers through a place called The Flowerman in Columbus. My mom will pick them up a day or two before the big day and we'll have a few people over to the house for a flower arranging frenzy.Another plant I want to incorporate is lavender. Ever since an awesome babysitter helped me stitch and embroider a lavender sachet for my grandma I've loved the sent and look of lavender. It makes me think of memories, summertime and learning how to sew. More inspiration:


 And now on to some of my in progress photos:[gallery link="file" ids="348,347,346,345,344,343,342,341,338"]Those yellow flowers aren't a part of this project, I just like them. The big tray with the fiber cells is full of seeding soil and lavender seeds. They're supposed to start sprouting in about 2 to 3 weeks. I've never tried starting a plant from seeds. There are so many factors to it... I just hope something comes out of those little shiny seeds. Also, notice the paint chips. Brad and I were trying to decide on a paint color for the studio (something in the navy blue family). Photos of that coming soon!